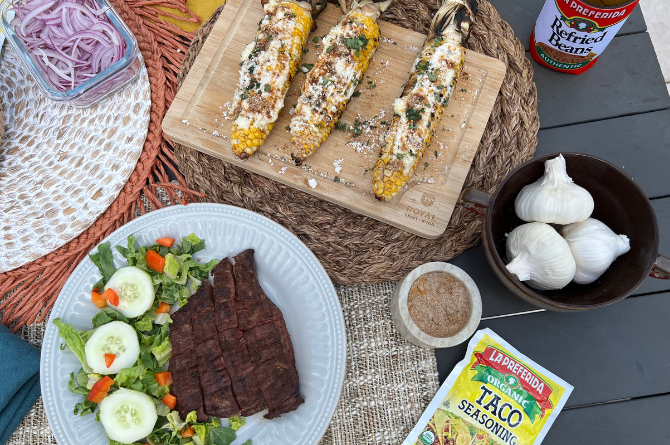
Beans are one of the most versatile ingredients you can keep in your pantry. They’re affordable, filling, packed with plant-based nutrition, and easy to add to soups, stews, tacos, burritos, rice bowls, dips, and side dishes. They’re also a great way to stretch a meal further and get more value from your grocery budget.
This guide covers how to cook beans using both dry and canned varieties, along with stovetop and Instant Pot methods. You’ll also learn tips for achieving the best flavor and texture and discover ways to use your favorite La Preferida bean products.
QUICK LINKS
* 🕚 Cooking Times
* 🥫 Dry vs Canned Beans
* 🫘 How To Cook Dry Beans
* ⚡️ Instapot Instructions
* 🥄 Canned Beans
* 🌮 Refried Beans
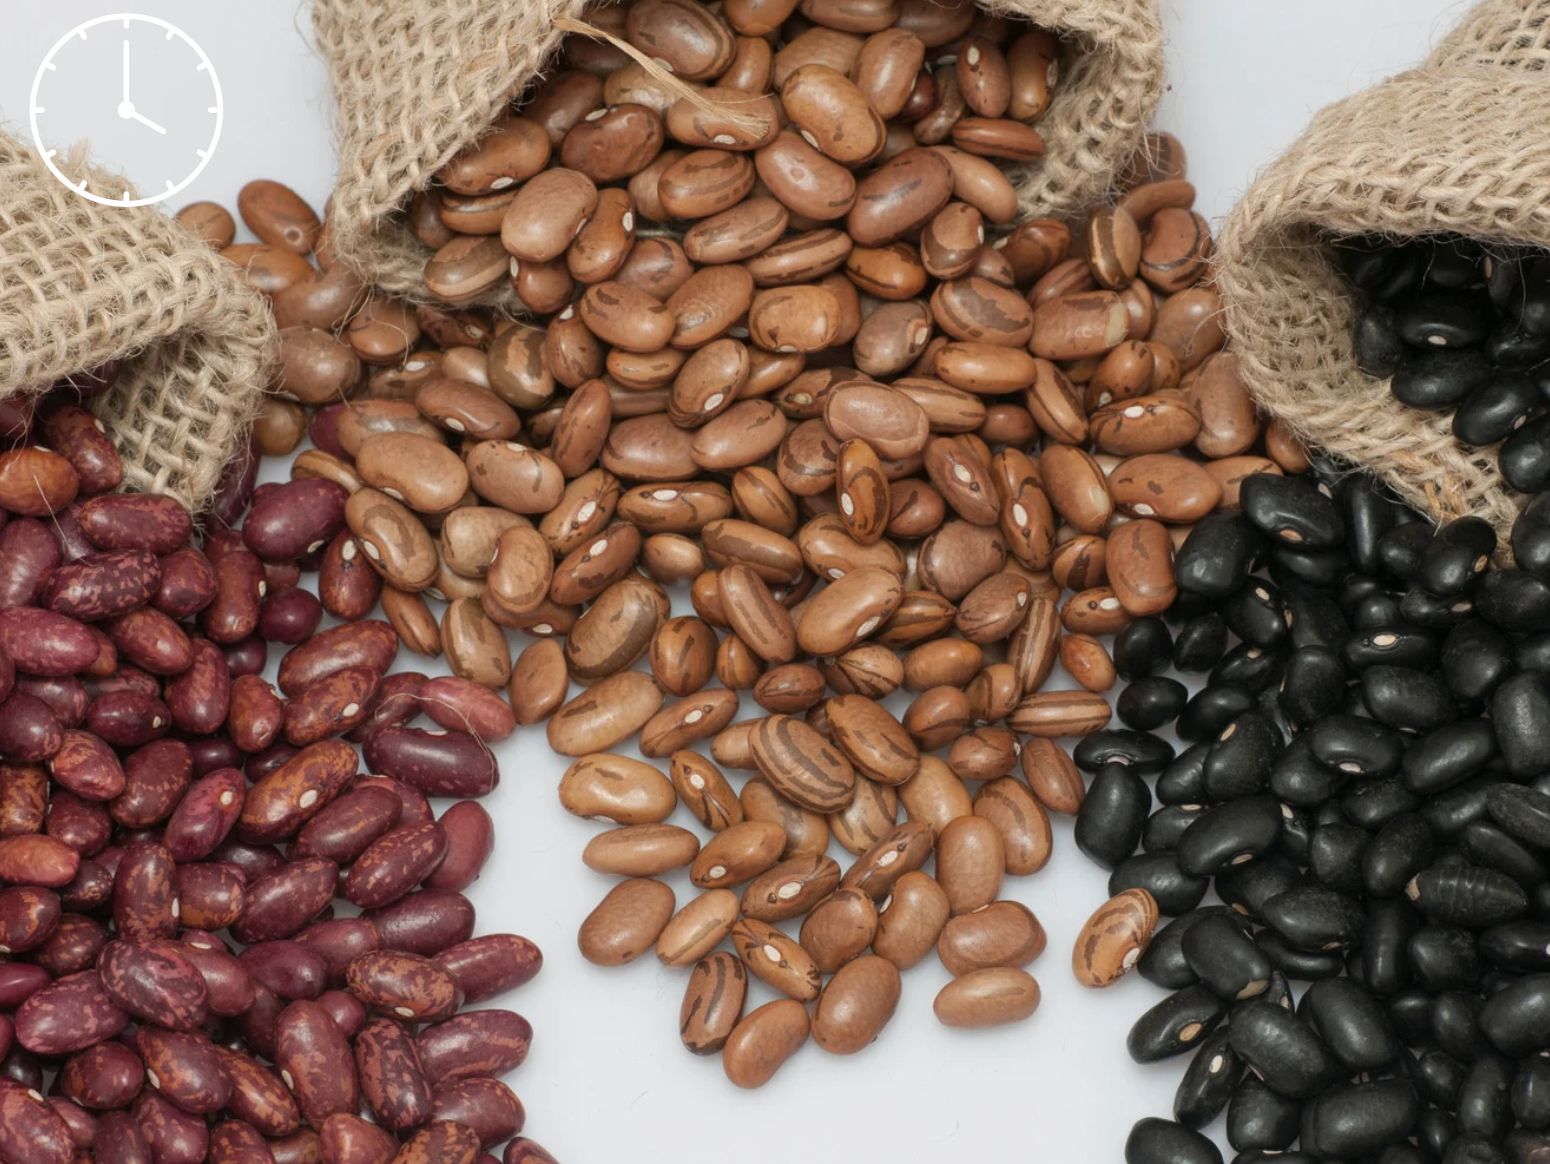
COOKING TIMES FOR DRY BEANS
| BEAN TYPE | SOAK | STOVETOP | INSTAPOT |
| Pinto Beans | Yes (8-10 hours) | 90 minutes | ~ 30 minutes |
| Black Beans | Yes (8-10 hours) | 60 minutes | ~ 40 minutes |
| Kidney Beans | Yes (8-10 hours) | 60-90 minutes | ~ 35 minutes |
How Long Does It Take to Cook Beans
The cooking method you choose makes the biggest difference in preparation time.
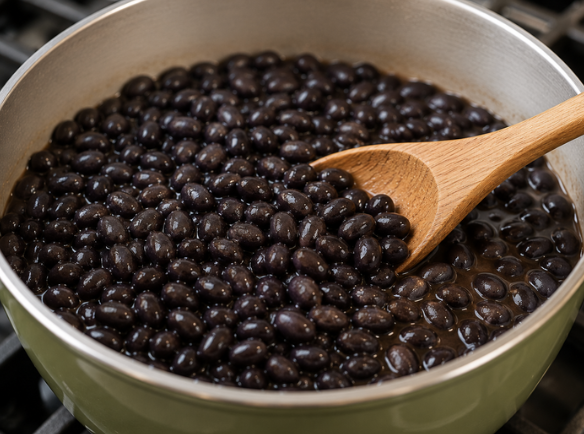
Dry beans require the most planning. For the best texture, soak them in the refrigerator for at least 6 hours. Overnight soaking (8 to 10 hours) is ideal, but avoid soaking longer than 12 hours. After soaking, most beans take approximately 1 to 1½ hours to cook on the stovetop. Black beans generally cook in about 1 hour, while pinto beans typically take closer to 1½ hours.
If you’re looking for a faster option, the Instant Pot significantly reduces cooking time. Unlike stovetop cooking, soaking is not required. Depending on the bean variety, most beans are ready in about 30 to 45 minutes.
Canned beans are the quickest option. Since they’re already cooked, they only need a few minutes to heat through. On the stovetop, most canned beans are ready in 2 to 3 minutes. In the microwave, they typically take about 2 to 3 minutes as well.
💡Quick Answer
- Dry beans typically take 60–90 minutes to cook on the stovetop after soaking.
- Instant Pot beans are usually ready in 30–45 minutes.
- Canned beans only need 2–3 minutes to heat.
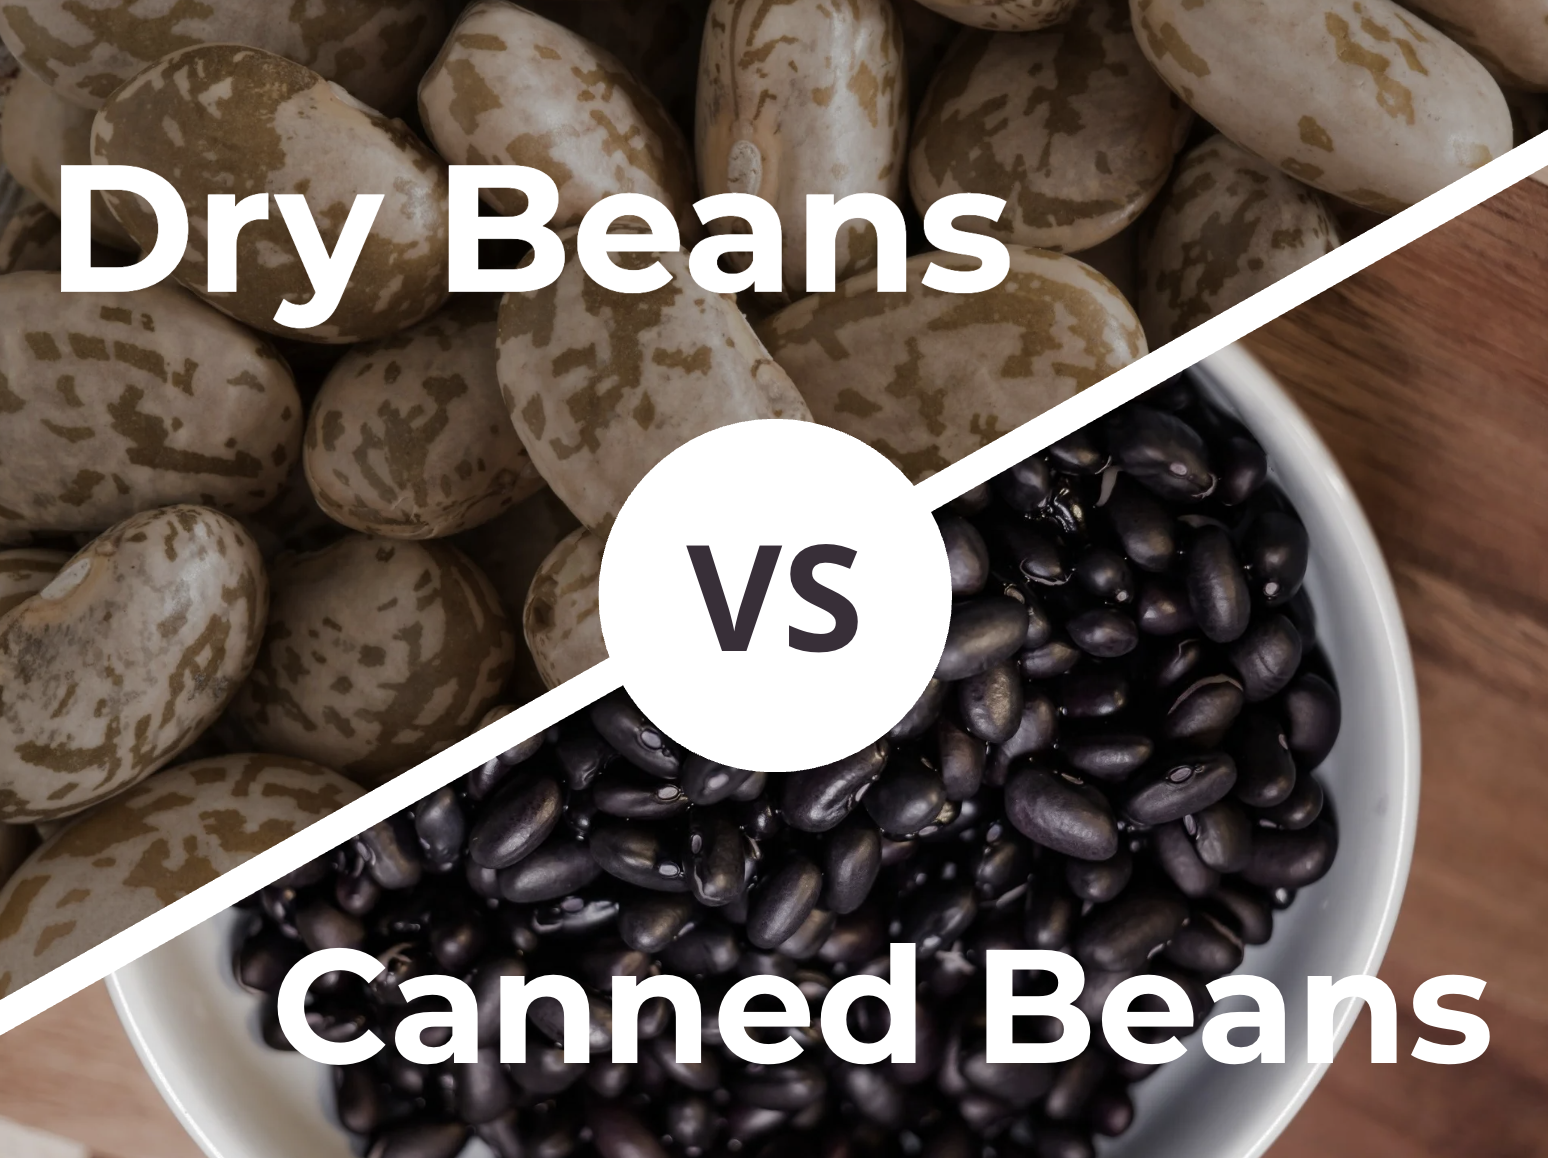
Dry Beans vs. Canned Beans
(Pros & Cons)
Choosing between dry and canned beans usually comes down to convenience versus cost. Dry beans take longer to prepare because they require soaking and cooking, but they are often more economical and develop a richer flavor when cooked from scratch.
Canned beans are fully cooked and ready to use, making them a convenient option for quick meals, side dishes, and busy weeknights.

| FEATURE | DRY BEANS | CANNED BEANS |
| Preparation Time | Longer (typically overnight) | Ready-to-Eat |
| Cost per Serving | Lower | Higher |
| Flavor Profile | Deeper, Richer, more Earthy | More Sodium, Less Protein |
| Best Used For | Slow-Cooking (Soups, Stews) | Convenience (Salads, Wraps, Bowls) |
Which Should You Choose?
If you enjoy cooking from scratch and want the most value per serving, dry beans are a great choice. If convenience is your priority, canned beans can help you get a nutritious meal on the table in minutes. Both options provide fiber, protein, and versatility, making them pantry staples for everything from soups and stews to salads, tacos, and rice bowls.
How To Cook Dry Beans
Step 1: Sort |
Spread the beans out and check for any small stones or debris before washing. It’s much easier to spot imperfections while the beans are dry. |
|
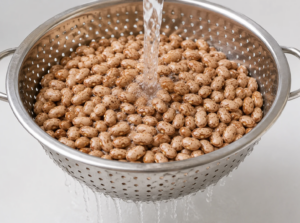
Step 2: Rinse |
Rinse the beans thoroughly under cold running water. |
|
STEP 3: SOAK |
Place the beans in a container large enough to accommodate expansion and refrigerate during soaking.
Cover with cold water using approximately three times as much water as beans, or ensure there are at least 4 inches of water above the beans.
For example: 2 cups dry beans = 6 cups water.
Soak for AT LEAST 6 hours.
For the best texture, soak overnight for 8 to 10 hours. Avoid soaking longer than 12 hours. |
|
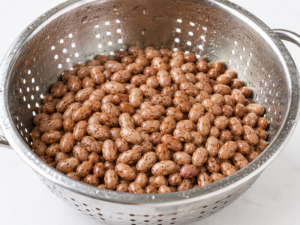
Step 4: Drain and Rinse Again |
Drain the soaked beans and rinse thoroughly. This helps remove the soaking liquid and can contribute to a creamier finished texture. |
|
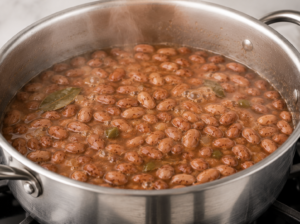
Step 5: Cook on the Stovetop |
| Transfer the soaked beans to a large pot and cover with fresh water, keeping approximately 4 inches of water above the beans. For added flavor, substitute broth for water. If want to add aromatics (onion, garlic, herbs etc) now is the time to do so.
Bring the beans to a gentle simmer, uncovered.
AS THE BEANS COOK: - Check liquid levels periodically
- Add additional water if needed
- Stir gently every 15 minutes for even cooking
Approximate cooking times: Wait until the beans are nearly finished cooking before adding salt. Adding salt during the final 10 minutes helps prevent the bean skins from becoming tough.
Once cooked, remove from heat, stir, and allow the beans to rest for 15 to 20 minutes before serving. |
|
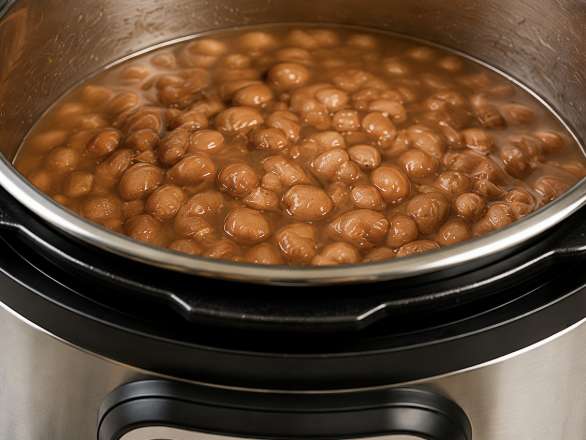
How To Cook Beans in an Instant Pot
The Instant Pot is one of the fastest ways to cook dry beans from scratch. Soaking is not required.
Step 1: Sort and RinseCheck the beans for stones or debris and rinse thoroughly. |
Step 2: Add IngredientsFor 1 pound of dry beans, add: - 4½ cups water
- 2½ teaspoons salt
Optional flavor additions: - ½ onion (root intact for easy removal)
- 1 garlic clove, peeled
- ½ teaspoon onion powder
- ¼ teaspoon garlic powder
|
Step 3: Pressure CookUse the Pressure Cook setting and follow all manufacturer safety instructions. Recommended cook times: |
Step 4: Release Pressure and Check TextureRelease pressure according to your Instant Pot instructions.
If a few beans are still firm, cook for an additional 5 minutes under pressure. At this stage, the beans can be served as-is or used to make refried beans. FOR REFRIED BEANS- Blend or mash the cooked beans to your desired consistency
- Stir in 1 teaspoon of lard or tallow per 1 pound of beans
- Transfer to a saucepan
- Cook over low heat, stirring frequently, until thickened
|
How To Cook Canned Beans
Because canned beans are already cooked, your goal is simply to heat them and enhance their flavor.
Stovetop Method
Step 1: Decide Whether to Drain the LiquidRinsing canned beans can reduce sodium content.
Keeping the liquid adds flavor and can serve as cooking liquid.
You can also reserve the liquid and use it to add flavor when preparing rice. |
Step 2: Add Liquid if NeededIf you drain the beans, add approximately ¼ cup water to prevent sticking or scorching.
If you keep the liquid, no additional water is needed. |
Step 3: Heat GentlyBring the beans to a light simmer for 2 to 3 minutes, stirring occasionally.
For extra flavor, consider adding: garlic, butter, herbs or your favorite taco seasoning. |
Microwave Method
Step 1: Pour off approximately half of the liquid to prevent boil-over. |
Step 2: Transfer beans to a microwave-safe bowl. |
Step 3: Microwave for 90 seconds, stir, then microwave for an additional 60 seconds. |
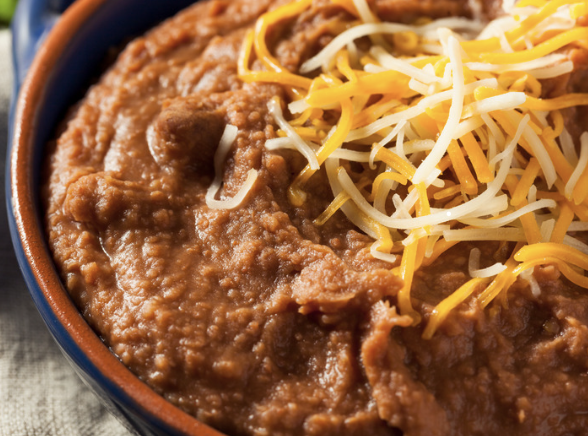
How To Cook Refried Beans
You can make refried beans from cooked dry beans or heat canned refried beans for a quick side dish.
Refried Beans from Cooked Beans
Step 1: Start with fully cooked beans |
Step 2: Mash or blend to your desired consistency |
Step 3: Stir in 1 teaspoon of lard or tallow per 1 pound of beans |
Step 4: Transfer to a saucepan |
Step 5: Cook over low heat, stirring frequently |
Step 6: If needed, add some bean cooking liquid to adjust consistency |
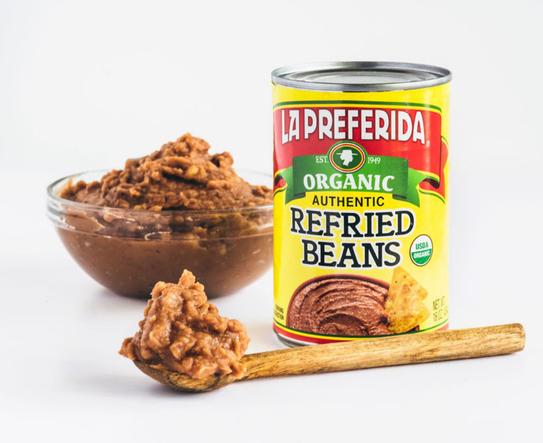
How To Cook Canned Refried Beans
Step 1: Add refried beans to a saucepan. |
Step 2: Heat over low heat. |
Step 3: Stir frequently. |
Step 4: Add a splash of water if needed to thin the texture. |
Step 5: Continue heating until warmed through. |
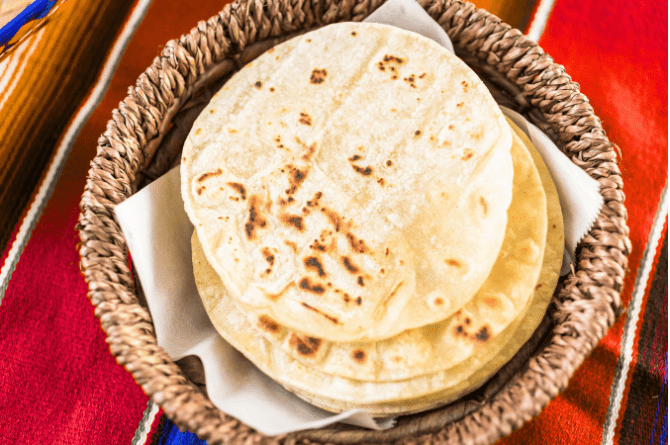
Refried beans are perfect for tacos, burritos, rice bowls, layered dips, and party appetizers.
Looking for inspiration? Try our Refried Black Bean Dip or Mexican 7-Layer Taco Dip recipes. |
Bring More Bean Recipes to Your Table!
Whether you prefer the lower cost of dry beans or the convenience of canned beans, there is a cooking method that fits your schedule.
Explore our full collection of authentic Mexican products, shop online, or use our store locator to find La Preferida products near you.
For even more meal inspiration, browse our recipe collection and learn more about our family-owned brand.